T-Rex Dinosaur Puzzle With Different Sizes and Positions
Click here for a link to my downloadable plans.
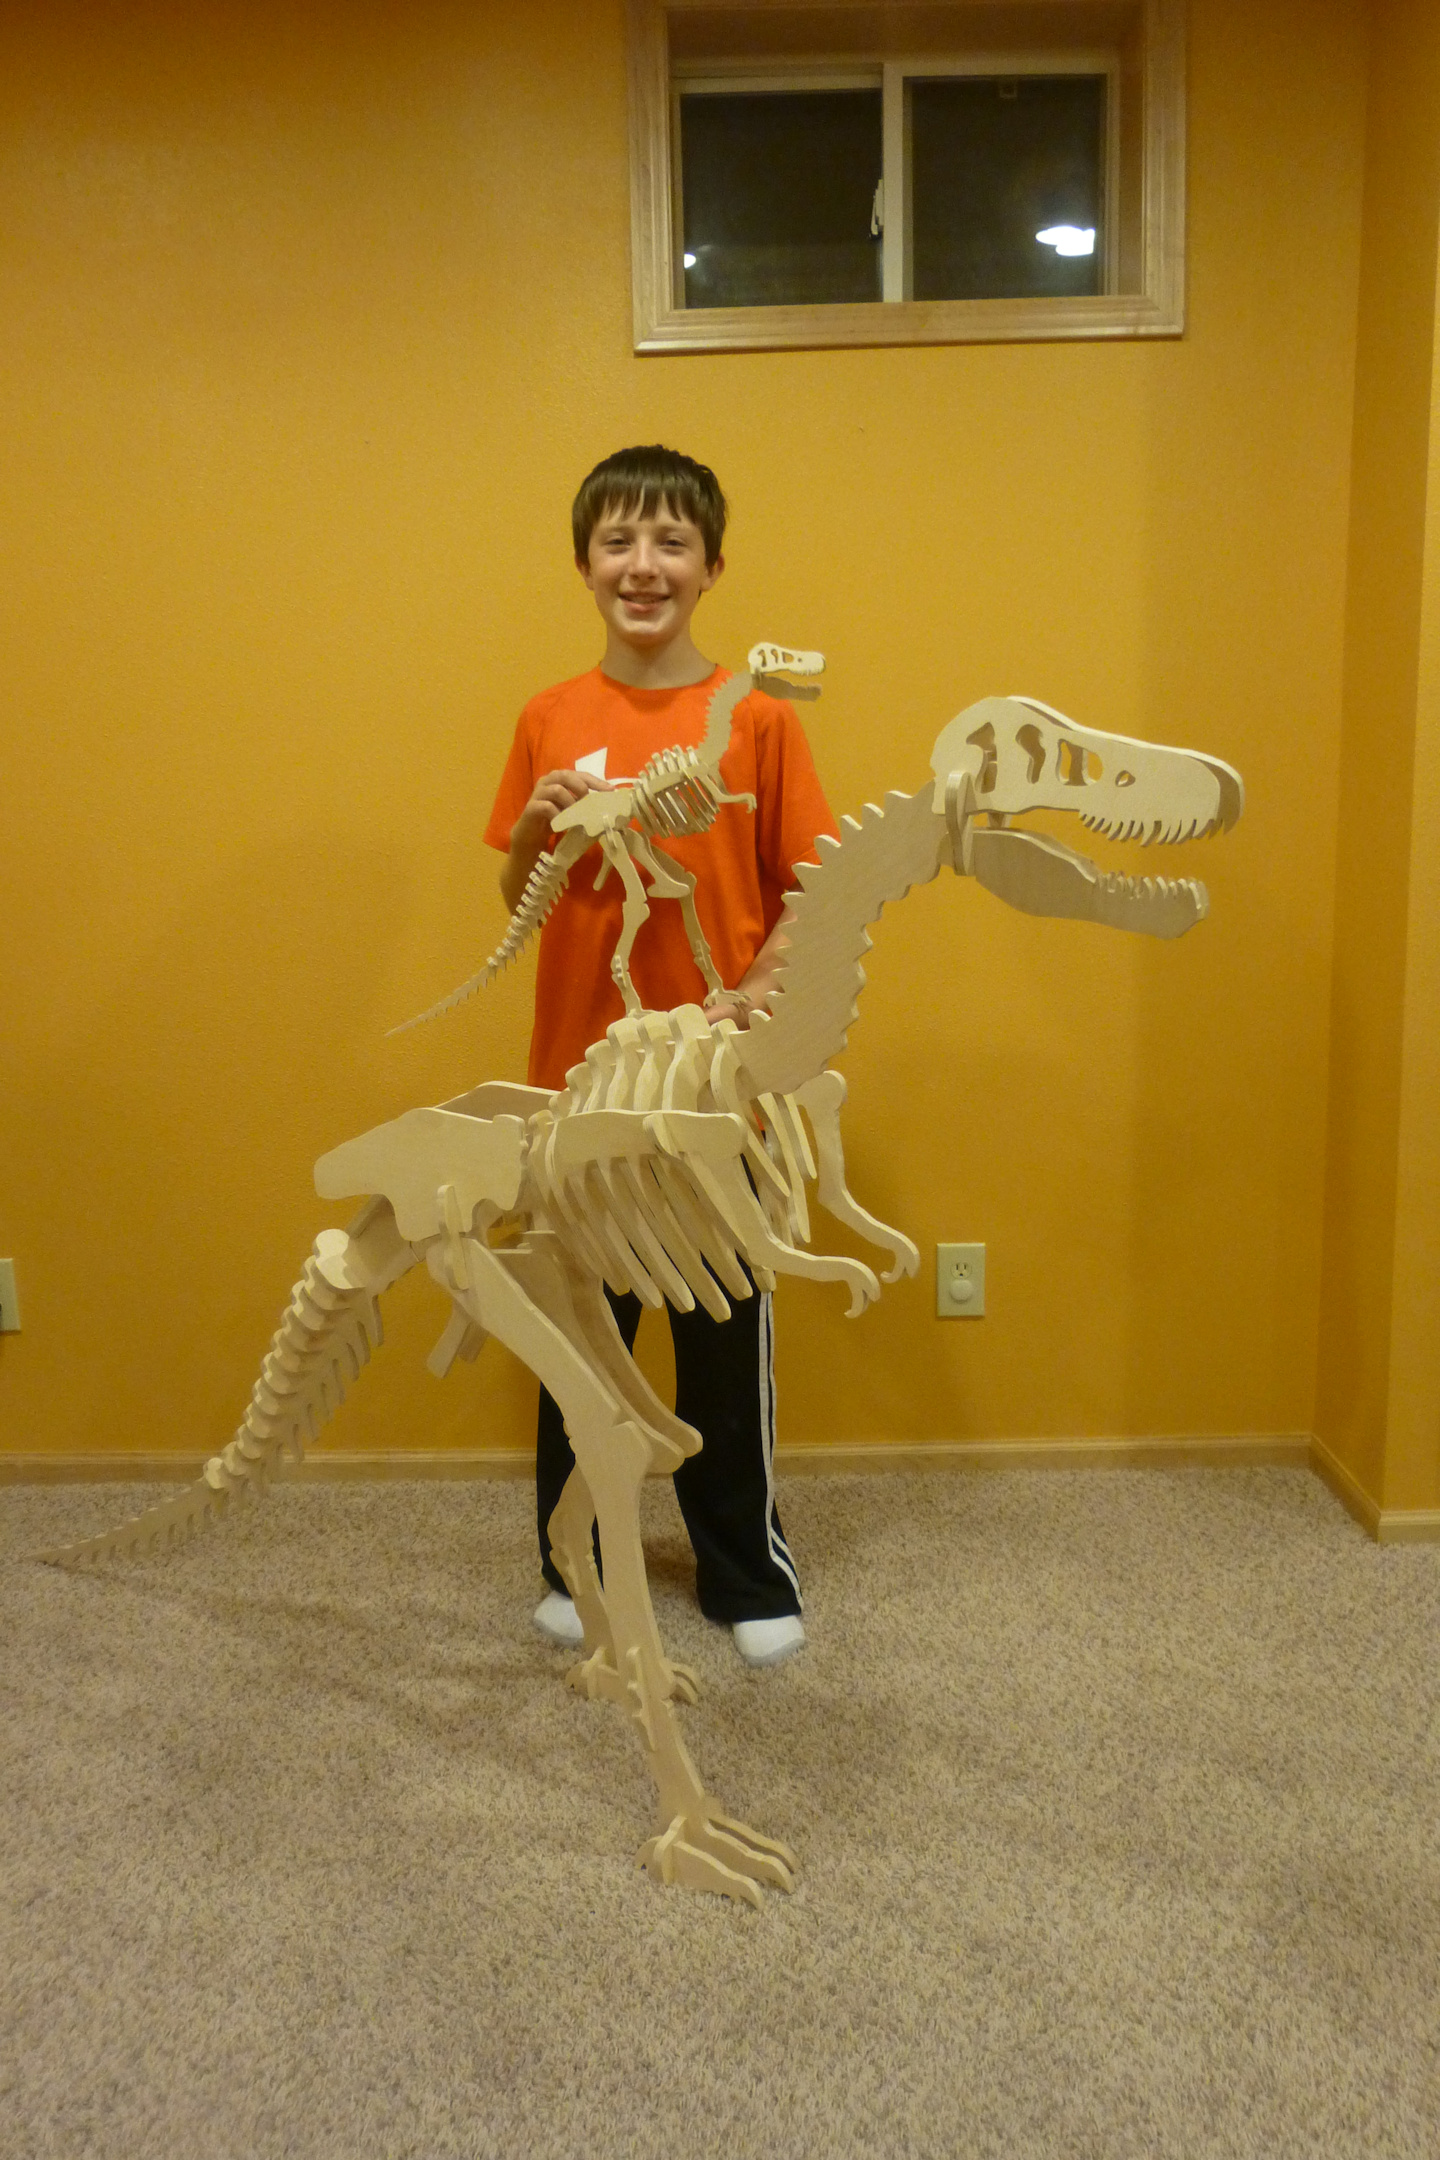
This project will show you how I designed and built my own 3-D T-Rex dinosaur puzzle.
There are a lot of different dinosaur patterns that you can find to cut out with a scroll saw. I wanted to make one of these for my son, but couldn't find a pattern that I liked. I also wanted to be able to make a large scale pattern that was somewhere between 4 and 6 feet tall. After looking for one for a while I decided to make one myself. The plan was to make a pattern and then cut out a small size dinosaur and then scale it up for a larger size with any improvements I wanted to make.
Step 1: Materials and Tools Needed
MATERIALS
1. Baltic birch plywood for the dinosaur pieces.
2. All wood pieces were left unfinished as adding a finish coat like polyurethane could affect the tightness of the interlocking joints of the pieces.
3. Spray adhesive for sticking the template pieces to the wood for cutting.
Tools
The tools I used on the project were as follows:
1. Computer and computer program to draw the parts. I used Autocad, but Sketchup or 123D should work as well.
2. Printer - for printing out the template pieces.
3. Band saw - for rough cutting the pieces into more manageable sizes.
4. Oscillating belt and spindle sander - for sanding the faces of the smaller pieces and the edges of the pieces when needed.
5. Random orbit sander - for sanding the larger pieces.
6. Scroll saw - for cutting out the dinosaur pieces.
7. Sanding block with sandpaper - for some additional spot sanding when needed.
Not all of the tools in this list are required, but will make the construction much easier.
NOTE: If you plan on using any tool for a project please make sure you are familiar with the tool and all of the dangers associated with it. If you are not familiar with a tool then you should ask someone who is to show you the proper way to use it. A lot of communities have classes at local colleges on the proper use of tools and machinery. There are also local woodworking clubs that offer classes at very reasonable rates for beginners. I highly recommend using these resources for your safety and for the most efficient use of the tool.
SAFETY FIRST
Always wear eye and hearing protection.
Always work safe with the proper safety equipment and guards on your tools.
Step 2: Trace a Picture and Make the Model


I looked for patterns for a long time and couldn't find anything I liked and there didn't seem to be anything for a large size dinosaur. I decided to download a bunch of T-rex skeleton pictures and have a crack at it myself.
1. I started by just tracing the outline of the skeleton to create the spine which most of the other pieces attach to. Due to the length of this section I made it into two pieces that connect together with a simple puzzle piece outline. Another piece slips over the connection location to hold these two pieces together. The spine has a duplicate notches at the top for the head and at the mid-point where it sits on the legs to give the model four different positions. This way the body can be in the upright or running position and the head can be pointing forward or looking up.
2. At each of the rib locations I made a notch the thickness of the wood for the rib piece that would go there. Each of the ribs is a scaled version of the other, but they are all different sizes.
3. I then made notches in the tail for those parts that stick up. The pieces that go on the tail are all scale versions of one piece, so they get smaller as you move closer to the tip of the tail.
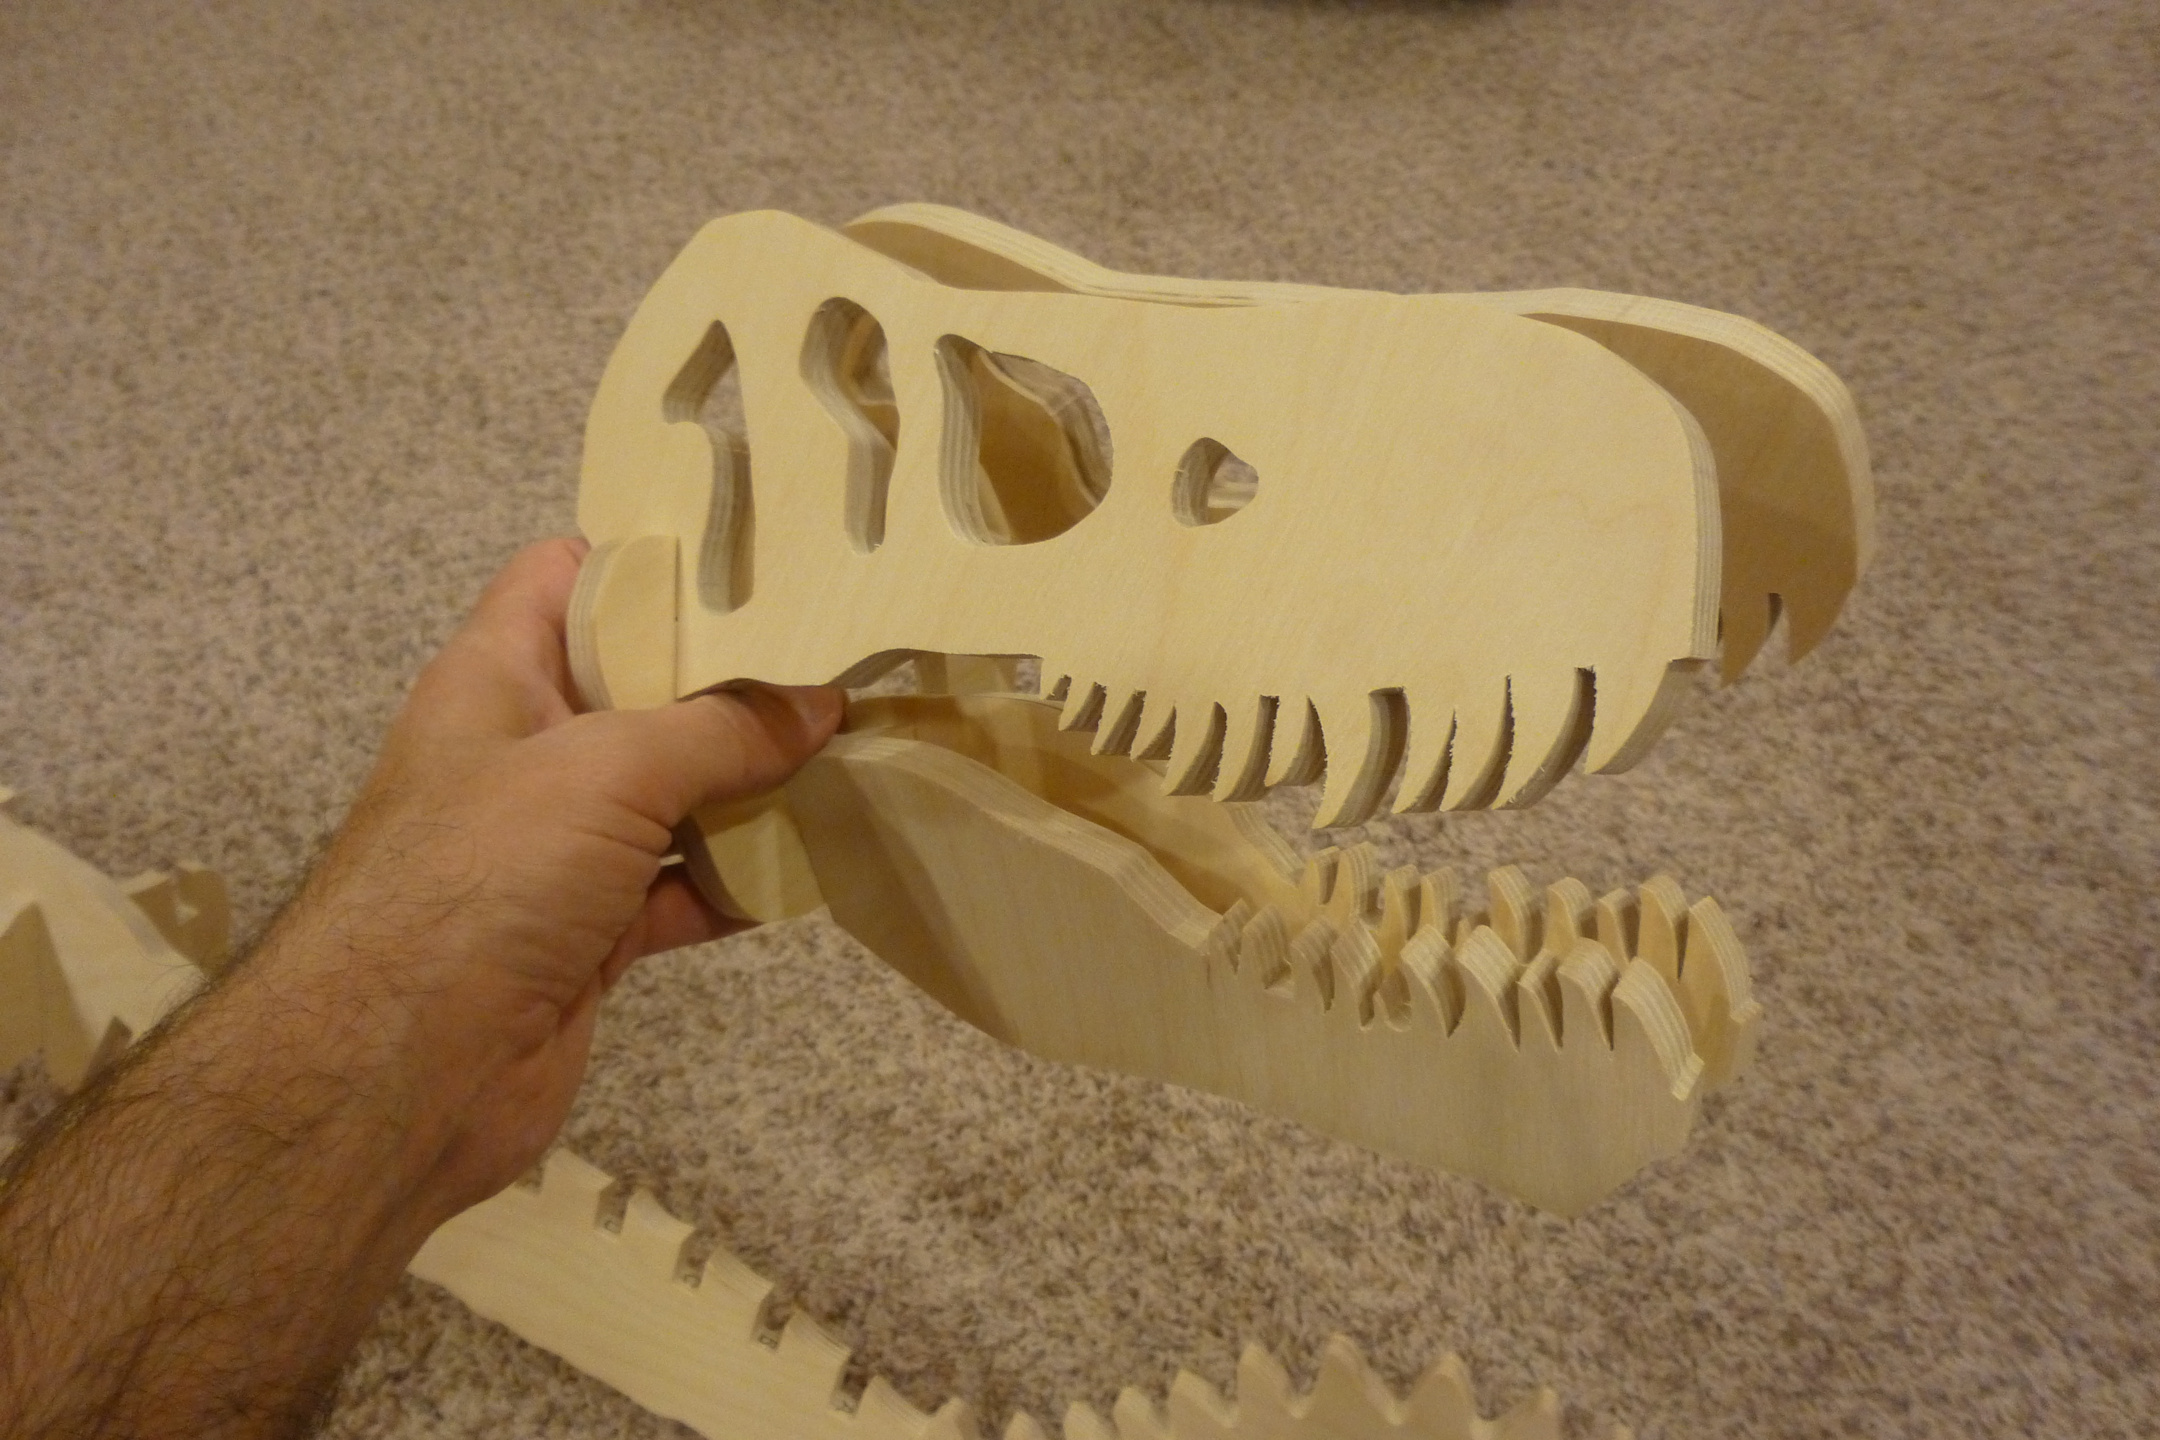
4. Next I traced the skull and the lower jaw. The pieces on each side of the head are the same.There is one key piece that fits on the end of the spine (at the head) that all four pieces of the head tie into. Having pieces on each side of the head gives the model the thickness that it needs.
5. The arms were mostly traced off the skeleton. Small notches for the arms to rest in were added to one of the ribs.
6. Next I added the pelvis (I guess that's what you would call it). It is a key piece that holds the dinosaur together. The spine of the dinosaur sits on this piece. It also accepts the legs and the two bones between the legs although I don't know what they are called. There are also a couple other bones on the top and side of the pelvis. The dinosaur looks a little strange without these two side pieces. I think they add the mass to the center of the body that is needed.
7. Next the legs were added. These are connected to the feet with a connecting piece.
8. Next I added the feet. I decided to make these a little wider than I had seen in some previous patterns to give it a little more stability and also add more thickness to the model.
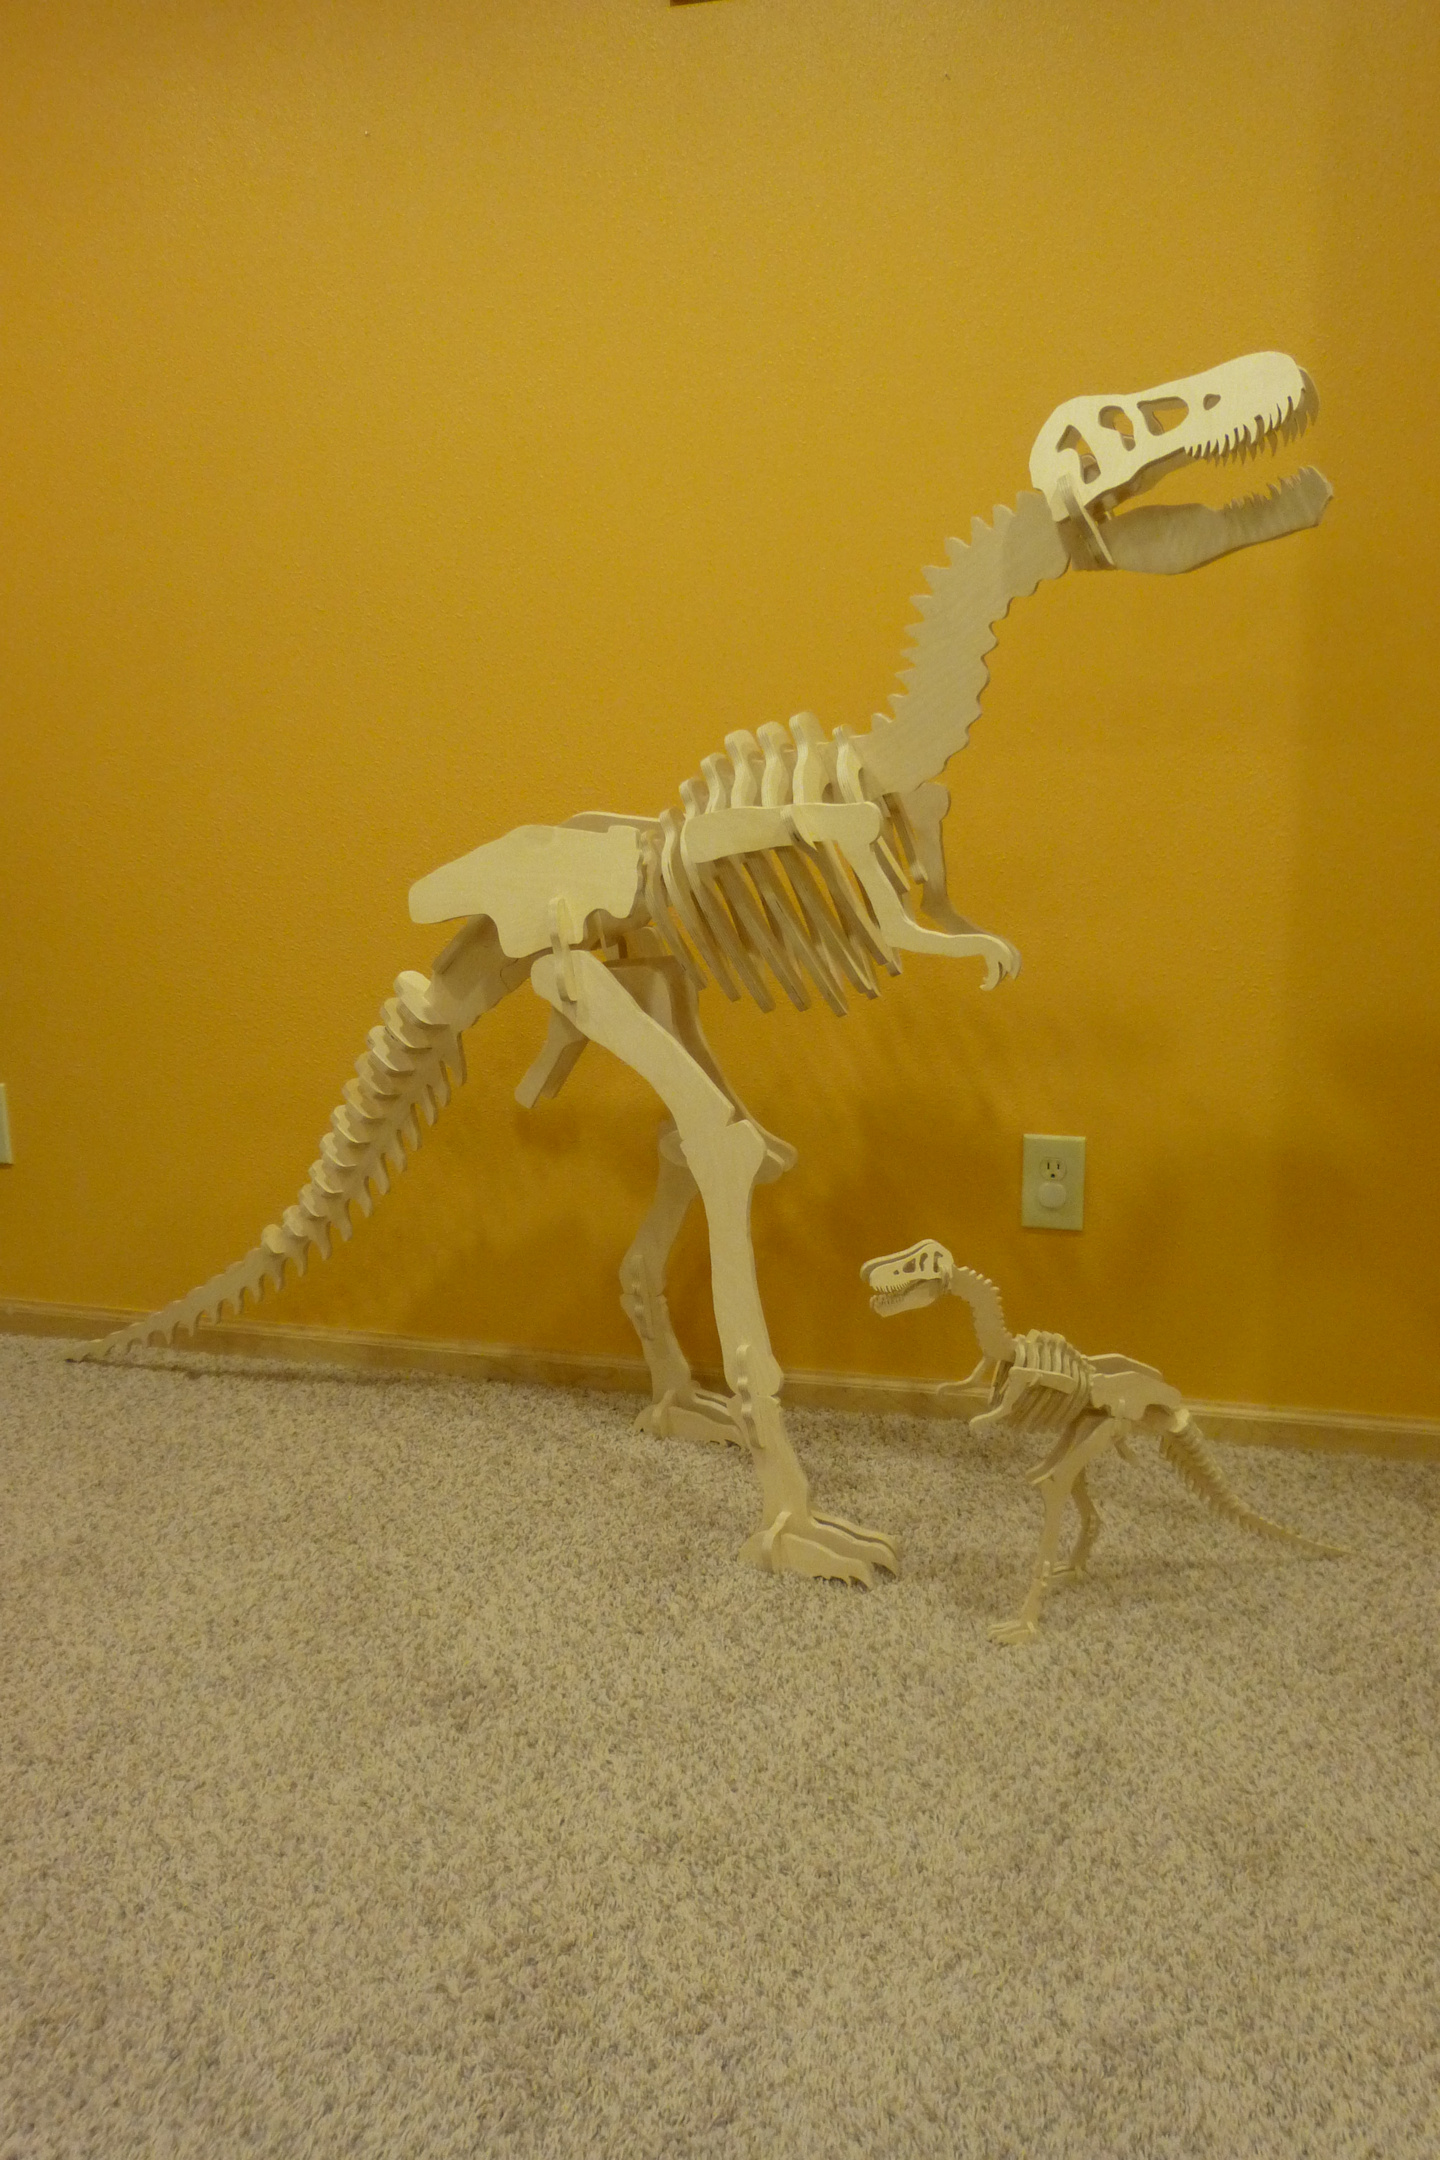
The 16-inch tall dinosaur is made out of 1/4-inch baltic birch plywood.
The 48-inch tall dinosaur is made out of 1/2-inch baltic birch plywood.
Step 3: Balance the Model
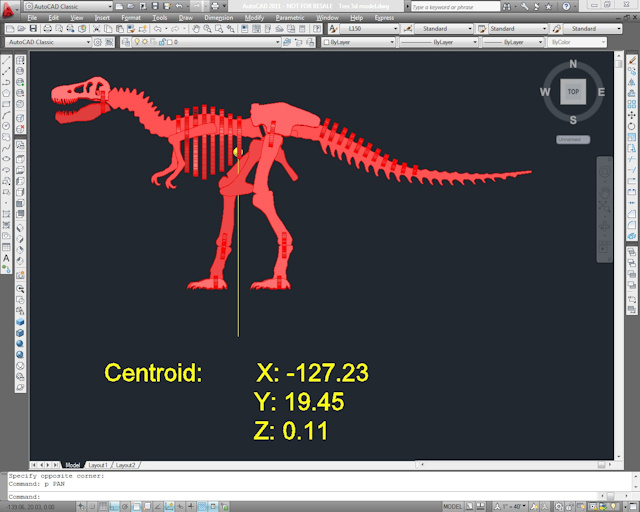


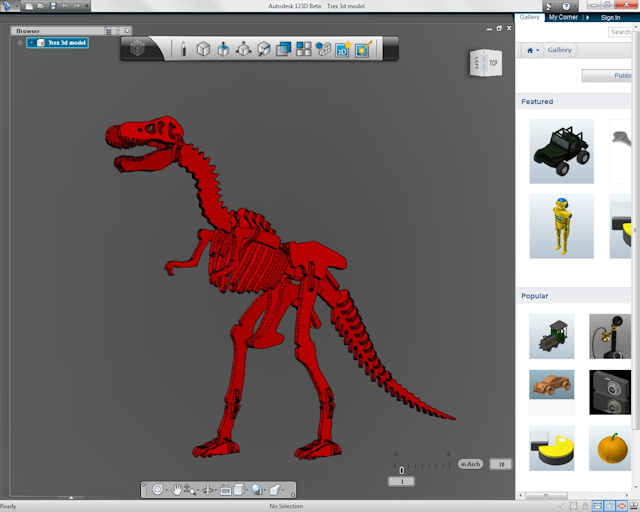
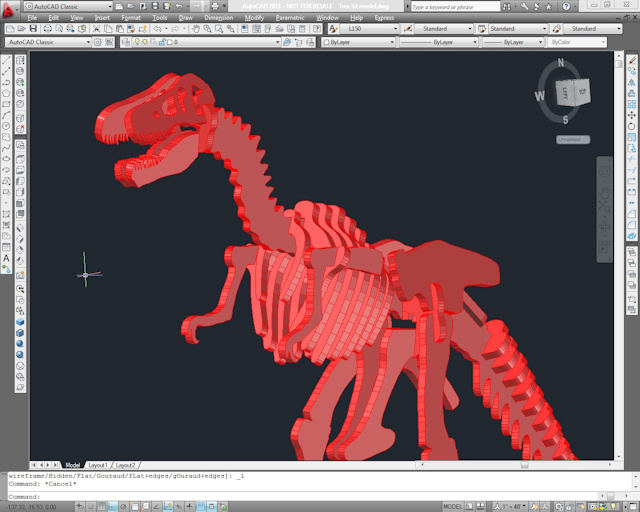
Now that I had the model complete I needed to check it for balance. I needed to make sure the center of gravity of all of the pieces was somewhere over the midpoint between the feet of the dinosaur. If not, the dinosaur would not stand up on it's own. Since I was using autocad, I extruded all of the pieces of the dinosaur to make them a solid piece of material the same thickness as the plywood I was using. Then I assembled them in 3D into one model as you see in some of the pictures below. Once I did this I was able to use the software to find out where the centroid of the model was.
In the following video you can see the centroid of the dinosaur as a small yellow circle just in front of the legs in line with the farthest right rib piece. I added a yellow line and projected it straight down to make sure it was aligned between the two feet. In the pictures below and in the video you can see that the center of gravity ends up being in the right position to allow the dinosaur to stand on his own two feet. The first model I made had this point just in front of a line that would connect the front edge of the feet. I modified a few of the pieces and made the rib pieces a little smaller to lose some of the weight in the front. My second attempt at locating the centroid of the dinosaur put it where you see it in the pictures and video.
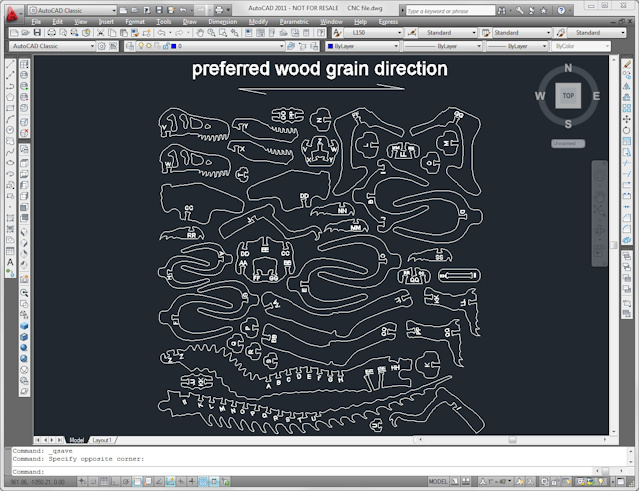
Step 4: Lay Out the Parts and Print the Templates


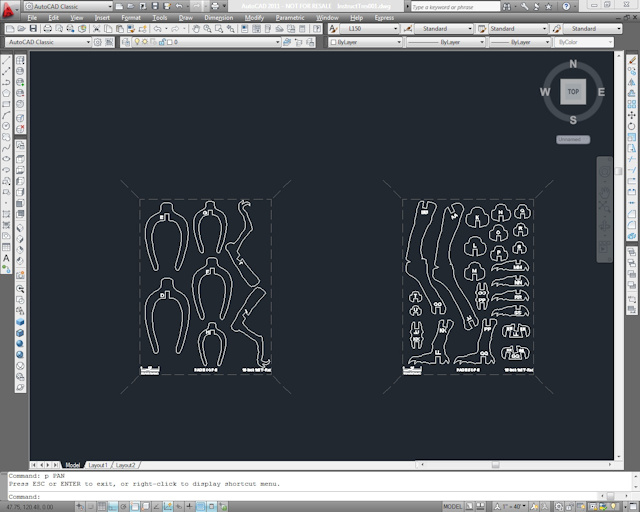


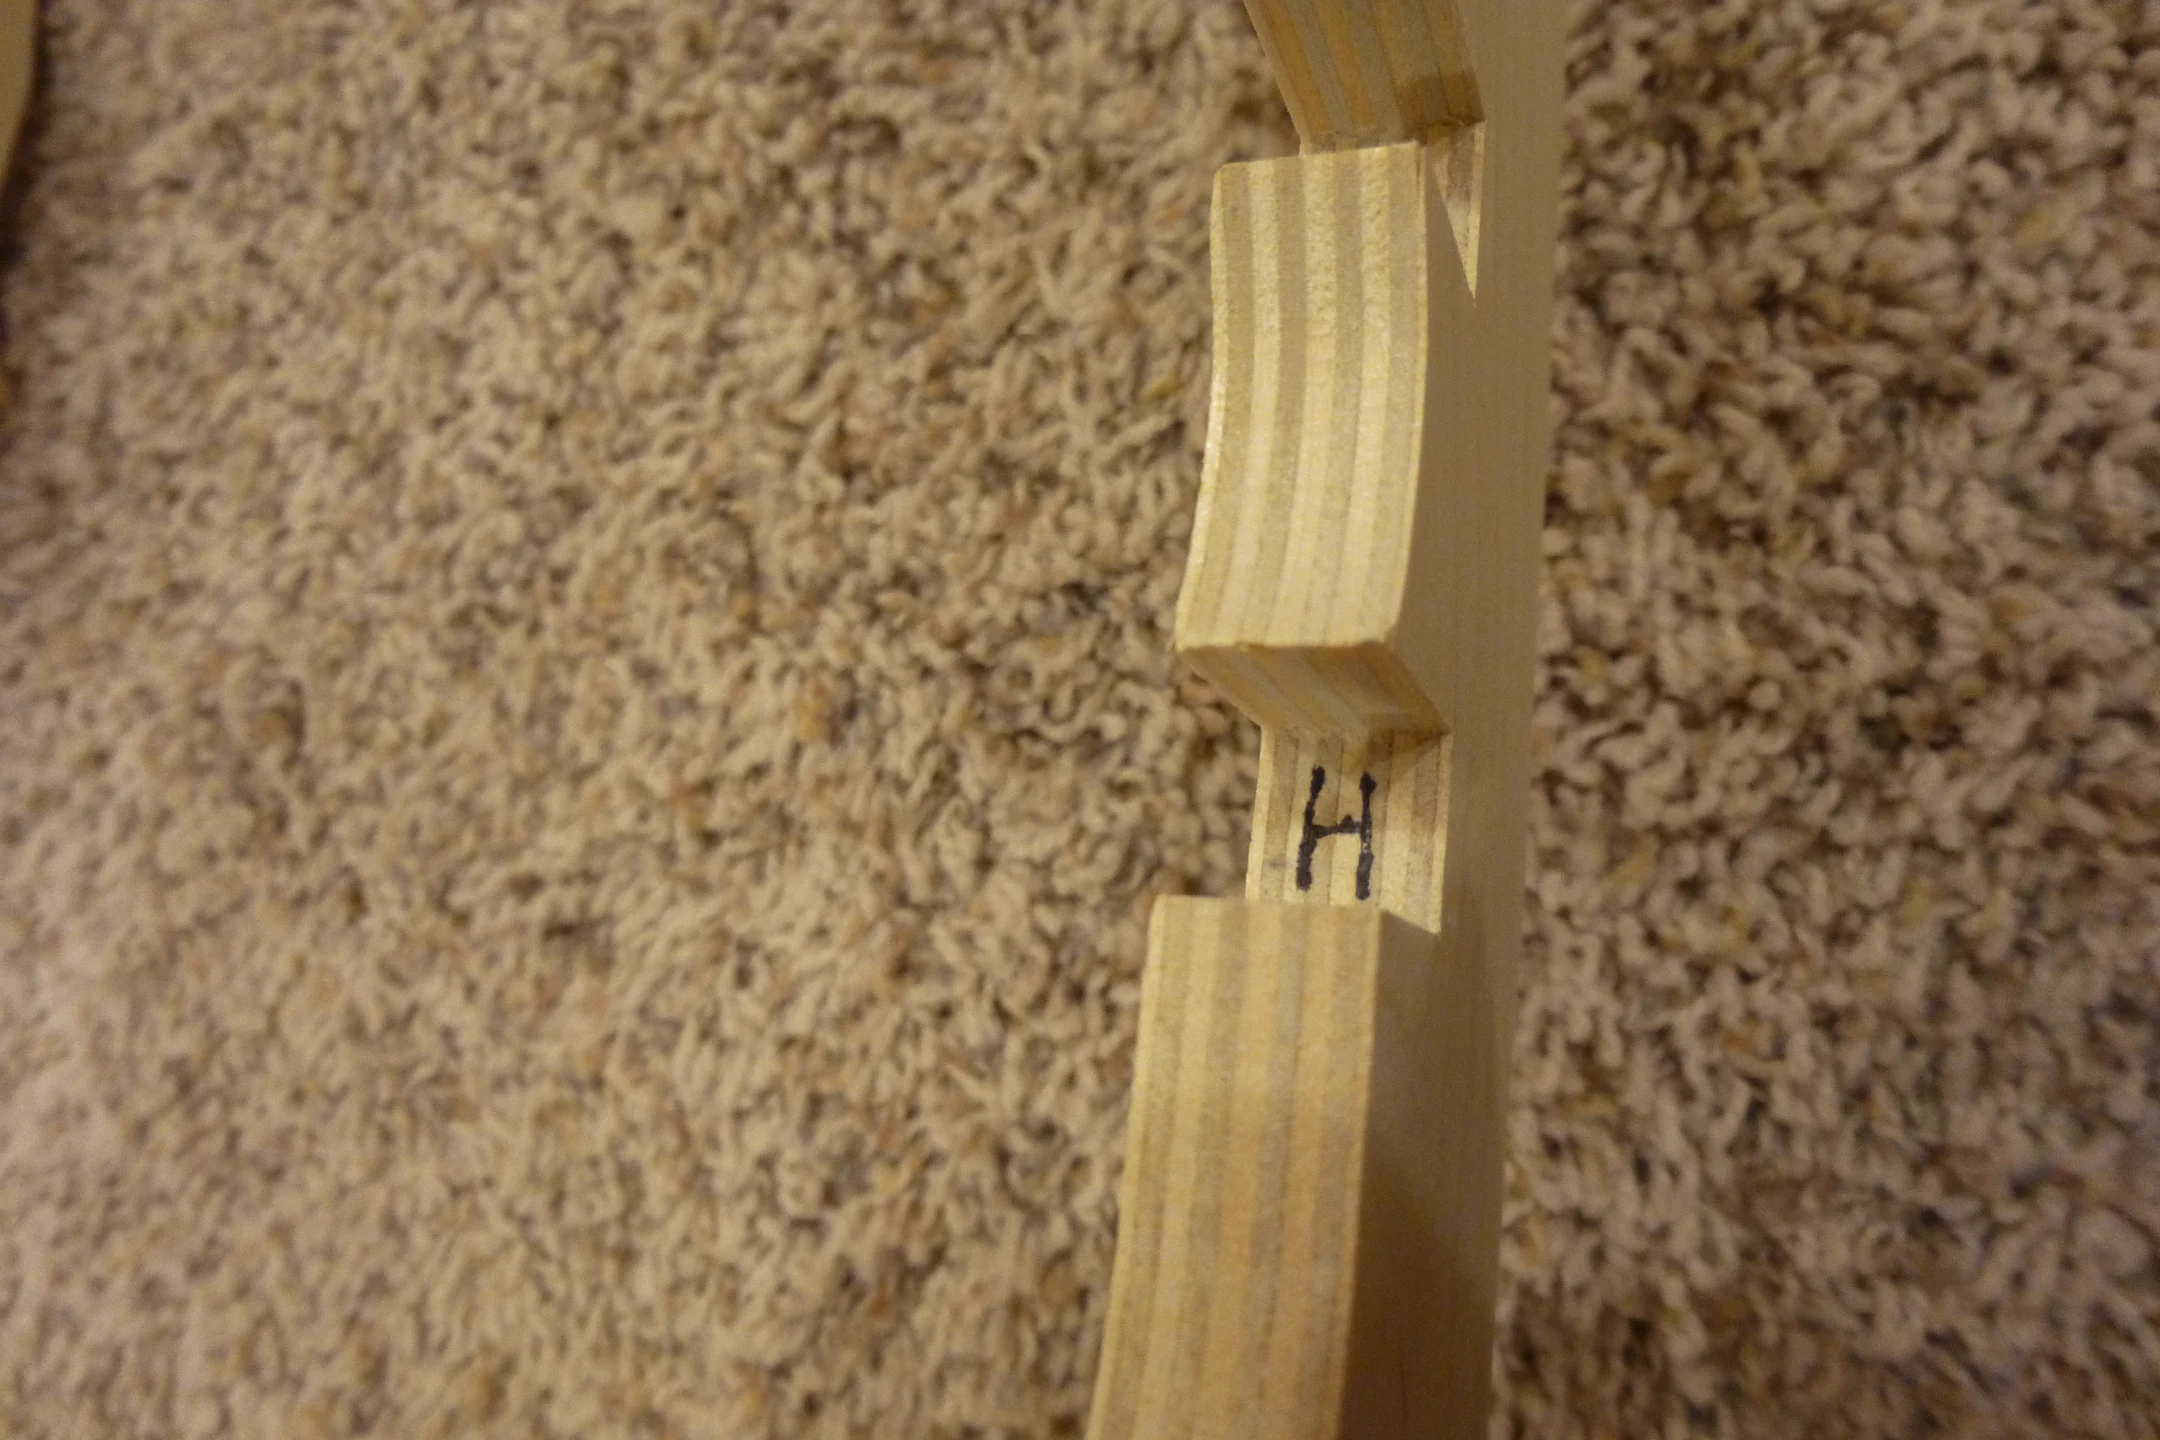
Now that I had all of the parts correctly sized so that the dinosaur would balance I labelled all of the notches with matching letters or combinations of letters so that the dinosaur could be easily put together. You can label each of the notches on the inside end of the notch so you don't see them when the model is fully assembled. This is extremely helpful that is unless you want it to be a challenge for anyone trying to put it together.
I took all of the parts in a plan (flat) view and arranged them so I could print the parts on 8.5 x 11 inch paper. I then took the paper and used spray adhesive to attached the paper to the 1/4-inch baltic birch plywood that I was going to cut the pieces out of. For the 16-inch tall dinosaur this ended up being 5 pieces of paper. Due to the length of the spine pieces being longer than 11 inches, I had to extend those two pieces across two sheets of paper. I added a match line so I could more easily align the two pieces of paper when gluing them to the piece of wood.
Step 5: Cut Out the Pieces

Next you need to cut out the pieces from the single sheet of plywood if you have glued all of the template pieces down on one sheet.
With the 16-inch tall dino I started by cutting the single piece into smaller manageable pieces with 4 or 5 dino pieces on each piece of wood. That makes it much easier and safer to cut out the smaller pieces.
With the 48-inch tall dino I started by cutting all of the individual pieces out of the one single piece of plywood.
Once you are done cutting out the pieces you will need to peel the remaining template paper off of the wood. You will need to give the pieces a light sanding on the faces of the piece and a little on the edges to remove the sharp corners.
Step 6: Assemble the Dinosaurs


The finished dinosaurs are really a fun project for kids to put together. The 16-inch tall dinosaur easily fits on a shelf.
The 48-inch tall dinosaur is a great addition to a kids room. One of the nice things about this is that when taken apart it easily fits under a bed or in a closet.
Step 7: CNC File Prep, Digital Files, and Moving Forward
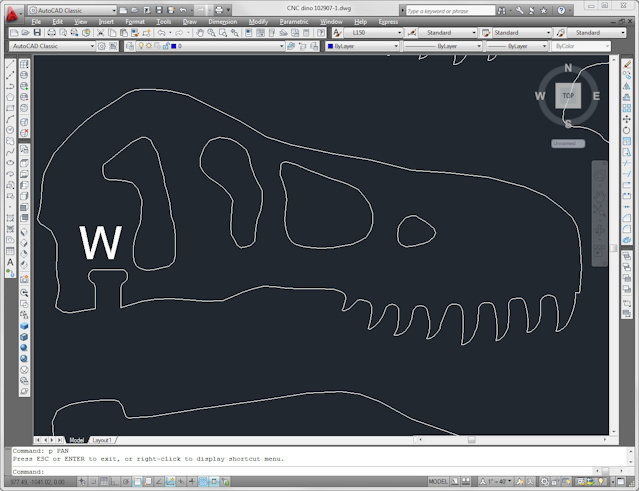


In order to prepare the dinosaur pieces to be cut with a CNC machine I needed to remove all of the sharp inside corners of the pieces. This included the inside corners of all of the slots where the pieces come together. The picture of one of the head pieces below shows how the square inside corners of the slots were modified for the use of a router bit.
I have started on plans for several other 3D models of dinosaurs, but haven't had an opportunity to finish one yet.